Your Mendeley library
Store, organize and search all your documents in one secure place
Back to all guidesMendeley Reference Manager
-
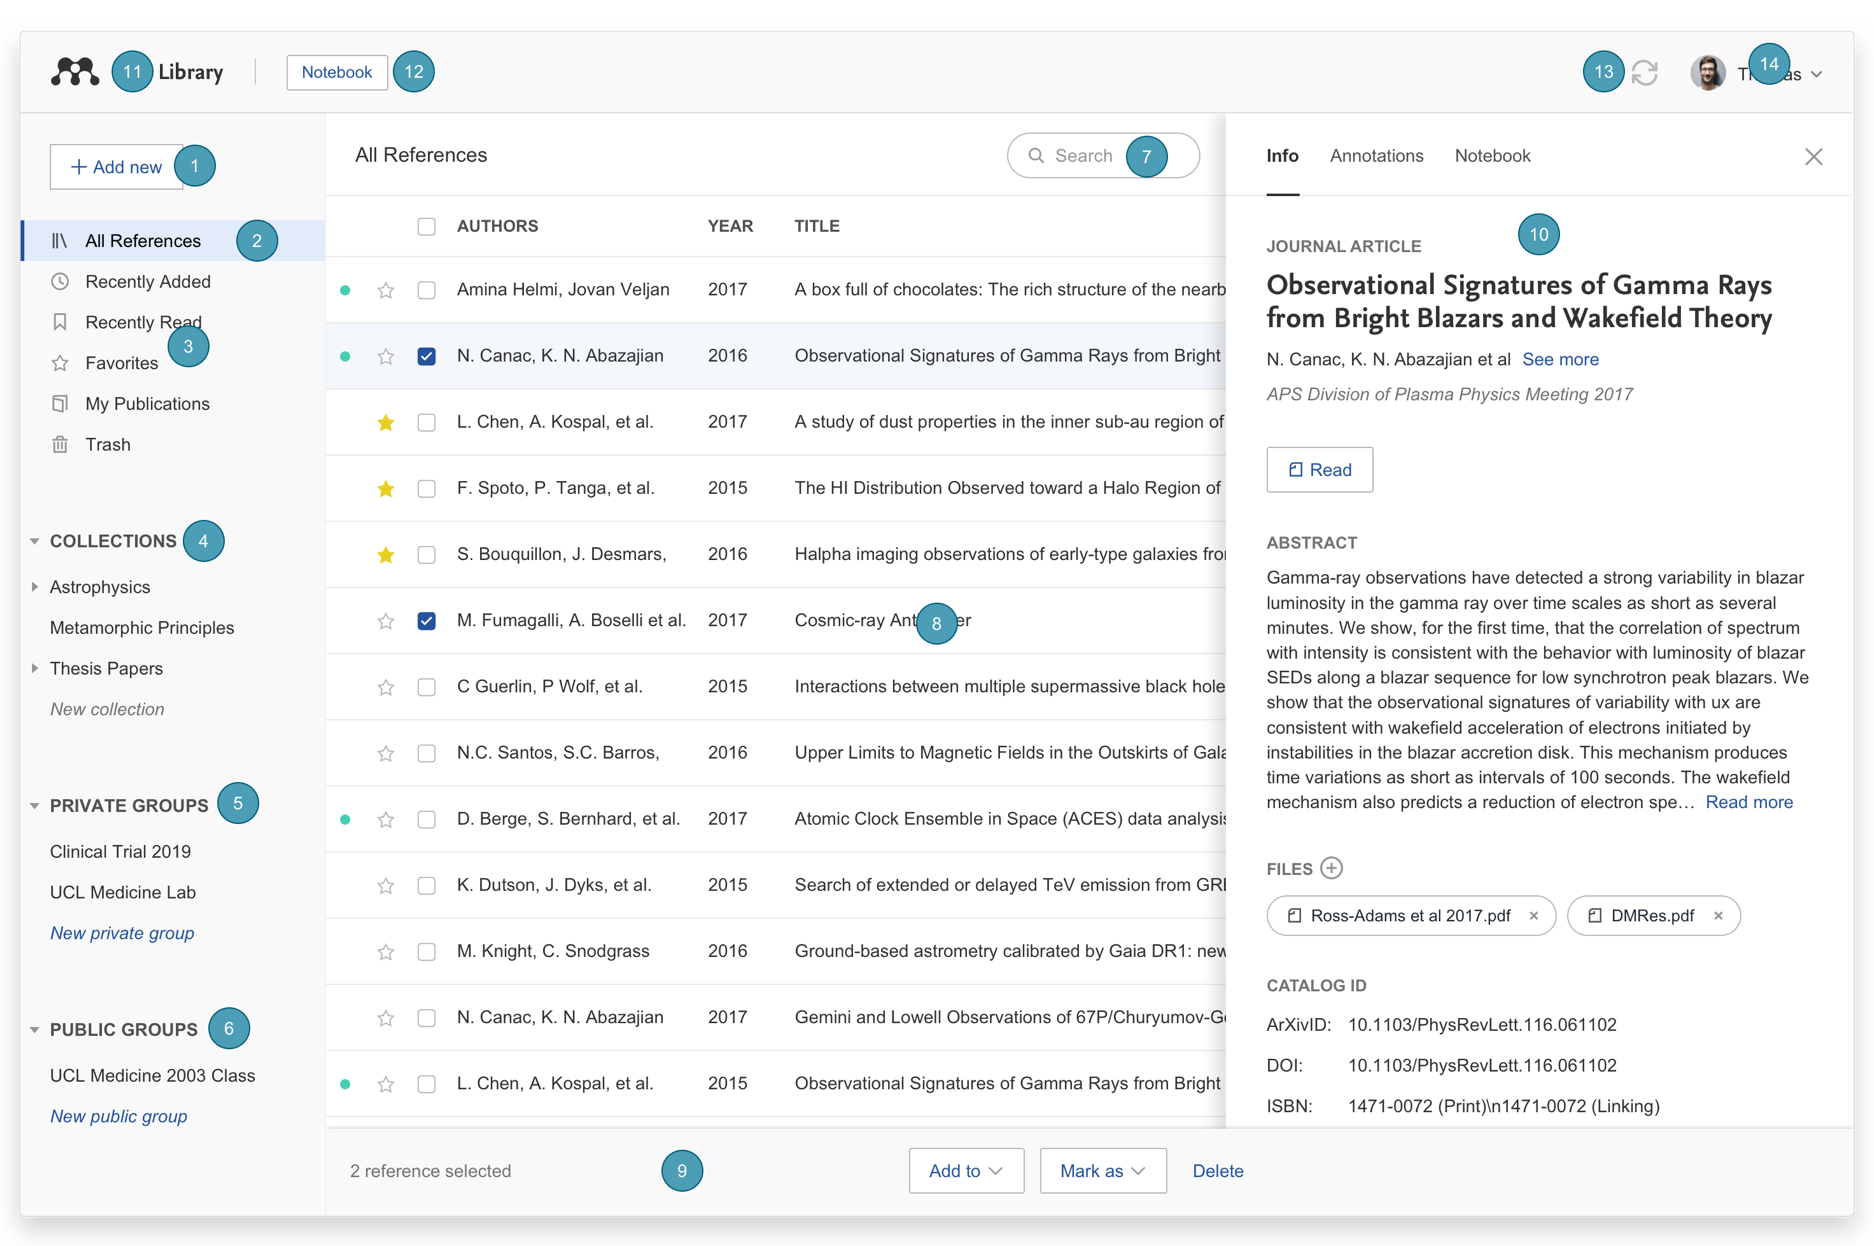
Add new - Use this to add new references to your Mendeley library.
For more details on how to add references to your library see 02. Adding references. -
All References - Select this to return to your personal library in Mendeley Reference Manager.
-
Smart Collections - Mendeley Reference Manager automatically organizes aspects of your library into smart collections.
For more details on how to use smart collections see 03. Searching and organizing references. -
Custom Collections - Keep your references organized in custom collections.
For more details on how to create and use custom collections see 03. Searching and organizing references. -
Private Groups - Any private groups you join or create will be listed under this heading.
For more details about private groups see 09. Sharing references. -
Search - Use this field to search your Mendeley library.
-
Library table - All of the references in your selected collection or group will be visible here.
-
Action panel - Select the check box next to a reference in the library table to bring up the action panel.
For more details on what you can do with the action panel see03. Searching and organizing references. -
Info panel - Select a reference in the library table to view the metadata in the info panel.
-
Library - Select ‘Library’ to return to the main library view.
-
Notebook - Use Notebook to keep all your thoughts in one place.
For more details about how to use Notebook see 04. Reading and annotating documents. -
Sync - Mendeley Reference Manager automatically syncs any changes you make to the cloud. This means that your work is always saved and available on other devices.
For more details about sync see07. Syncing. -
Profile - Use this drop down to access your online profile page, access support or sign out of your account.